Installing a product#
If you want to install a product, it must first be purchased in the Aerosoft Shop. This can be done either in a web browser or in the Shop page in Aerosoft One.
Note
If you already purchased a supported product from an external shop, you must register its product key in Aerosoft One. See Activating an external product
Once you have purchased/registered the product, it will become listed in Library > Simulator name > Available Add-ons. The installation of the product is handled completely by Aerosoft One.
Note
Exceptions are the unsupported products listed under Library > Other Add-ons. For these, you can click on Download and Aerosoft One will take you to your Downloads in the Aerosoft Shop from where you can download a setup installer or zip file to install the product manually.
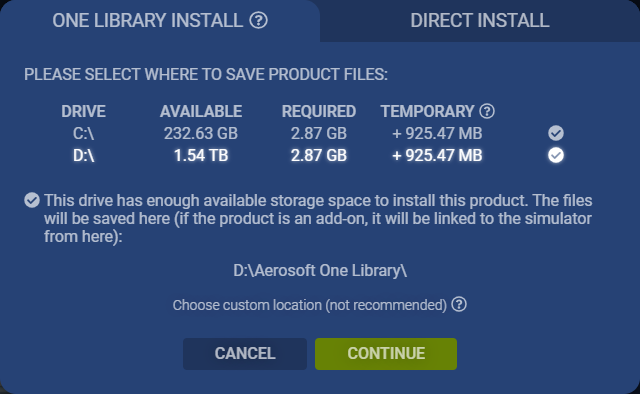
In Library, just click the Install button of the product you want to install and Aerosoft One will will ask you which install method and drive you want to use.

Note
If you have already installed the product via a setup installer, Aerosoft One will detect this and will prompt you to uninstall the existing product first.
For the install method, you can choose one of two options:
- One Library Install
With this method, Aerosoft One will save the add-on files on a drive of your choice and then link them to the simulator using symbolic links. This lets you install the add-on files on a different drive than your simulator drive, and also lets you activate/deactivate the add-on’s link to the simulator after installation.
- Direct Install
This method installs the add-on files directly in the simulator without using symbolic links. With this method, you cannot choose which drive the add-on files are saved on.
Once you’ve selected an install method and drive, click Continue followed by Install. The product will then be added to the Queue page where you can follow the installation progress.